|
| |
| Making it Shine |
|
Shine is lots of light reflected
back to the viewer. The more light is absorbed by a surface, the less shiny
it appears. The smoother a surface, the more unidirectional the reflected
light, the more shiny. Picture a sandy beach: the dry sand consists of
bezillion little facets, reflecting the light into bezillion different
directions. It looks dull. Now a wave comes along, and coats the sand. The
surface is smooth, reflects much more light back at the observer, and
appears shiny.
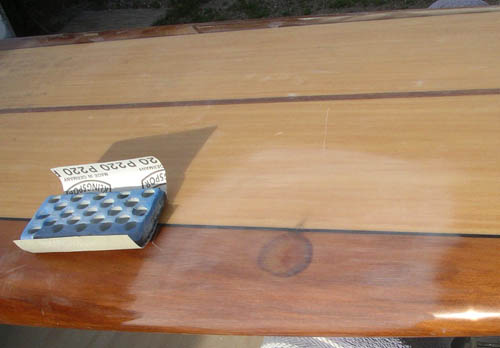
When you are first done with a
repair on your board, you will have smoothed things with, say, 220grit
sandpaper. Even with the bare eye, you can see major scratches. The surface
is broken into many different facets, all reflecting the light into
different directions - it appears dull.
To go from this to a glossy surface
takes nothing more exotic than sandpaper, polishing compound, and lots of
patience – provided the material is hard enough – we'll get back to that
later.
The object is to reduce the
scratches in depth, so that a bigger and bigger percentage of the surface is
uniform, reflecting the light uniformly. |
 |
Throughout the finishing process,
never ever sand with your bare hands, but always use some backing block
- the softer, the finer the sandpaper.
Scratches left by
220 grit paper are best tackled with 400 grit wet & dry paper, flushed
often with water to prevent debris from scratching the surface. Keep
sanding until all the 220 grit scratches have disappeared. |
 |
If
you sanded in a fore and aft direction with the 220, and follow on a
left-slant 45 degree angle with the 400, you can see exactly when the
fore & aft scratches are gone. Next, sand the 400 grit scratches with
600 grit wet & dry on a right-slant 45 degree angle. You are good when
the left-slant 400 grit scratches are all gone. Follow with 1200 grit
wet & dry again going fore & aft, until all the right-slant 600 grit
scratches are gone. By now, the surface is uniform and has a satiny
appearance. |
 |
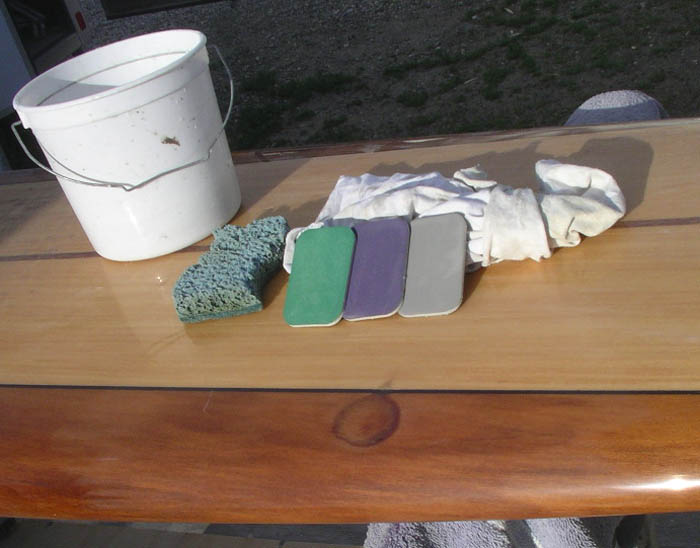
Most folks go from here
straight to a rubbing compound. But there is a quicker, more reliable
way: more wet-sanding with Micro-Mesh foam-backed sanding pads. These
come in amazingly fine grades (I use from 2400 to 12000 grit), which
will take your satiny surface to near-gloss in no time, without the
chance of burning that machine-compounding has.
|
 |
Next, a polishing compound will bring out some shine |
 |
a swirl remover will deepen it,
and a machine glaze top it off brilliantly.
As you switch from one compound
to the next make sure to switch to the appropriate foam pad as well, and
clean your applicator!
a lot of work - but wasn't it worth it?? |
| Can any surface be made
shiny in this way? No! The cell structure of the material may be so
coarse as to always refract the light every which way. Most very
light-weight materials are like that: you will for example not be able
to make a piece of fir glossy (without a coating). Many plastics
(including the ASA skin on boards) will never be glossy. Even some
paints fall into this category, particularly those that come out of
rattle-cans. As a matter of fact, the touch-up paints sold by a very
prominent surfboard manufacturer simply disappear when attacked with a
polisher. So - if in doubt - do test an inconspicuous area first! |
|
|
return to Repair Menu |
|